Wednesday, April 11, 2012

Using Crystal Lacquer and Terri Sproul Mixers on a Gourd!


I’ve been working on another gourd using Crystal Lacquer and Terri Sproul mixers. To begin with I picked out a small Martin Gourd and a pattern of flowers that I thought would look good on it.

                 001

These flowers were on pyrography paper, so once I decided where I wanted to place them I peeled the back off and stuck it to the gourd. Once I got it situated I wood burned the flowers onto the gourd.

                                   003     Here’s a close up of the front of the gourd and also the back of the gourd (yep I decided it needed flowers on the back too) once I had finished the wood burning.

     004     

005 

Aren’t they pretty? Both of the flower pictures were on pyrography paper. I enjoy pyrography even though it takes awhile to do. Next I got my Crystal Lacquer out and Red Shimmer Terri Sproul mixers. After mixing the two together to my satisfaction, I took a small paint brush and painted my flowers. For the leaves and stems I mixed Pearl Tanzanite Blue with Pearl Citrine to come up with a green that I liked. I used the small brush and my mixed up green to paint the leaves and stems and this is what it looked like when I finished:

                    035       020   

                    041       035

The back of the gourd wasn’t lighter, it’s just the way the light was acting. Don’t you think these colors are amazing? I love this stuff! I’m going to a Gourd Festival in Missouri in two weeks and plan on demonstrating the Crystal Lacquer and Terri Sproul Mixers while I’m there. I think this gourd will be traveling with me as just one example of how these wonderful products can be used. One thing that is just really soooo cooool is that once this product dries you don’t have to seal it and you don’t have to worry about it running if you seal the rest of the gourd and the sealer touches it. You really need to purchase some of the Crystal Lacquer and Terri Sproul Mixers and give them a try! They can be used on so many different things! If you clean up your brush while it’s still wet, you can do it with water, if you let the Crystal Lacquer dry on your brush (shame on you, lol) you can use fingernail polish remover with acetone to clean it up. Get you some and let the fun begin!!

Barbara

Tuesday, April 10, 2012

Make Beautiful Cards with Crystal Lacquer and Terri Sproul Mixers!

In case you haven't noticed I seem to paint just about everything with Sakura Crystal Lacquer and Terri Sproul Mixers! These products are so versatile!
I have been working on several projects and had all of these beautiful colors left over in my mixing pots!!!  What to do???? Can't let any of my crystal lacquer go to waste! (Terri Sproul Mixers pictured below: Tanzanite Pearl, Citrine Pearl, Pink Saphire Pearl, Garnet Pearl, Purple Pearl and Shimmer Red.) 
I decided to make a paper background! I took 65 lb artist paper and began painting the colors randomly. Then set aside to dry and use when I needed for a later project. Note: It takes 15 to 20 minutes for the lacquer to dry on paper when painted thin like this. It will be slightly tacky. Using lacquer on thicker project takes longer to dry!
 
While making another project I was playing with the Pretty Butterfly from Viva Las Vegastamps!  Here I stamped it on tissue, heat embossed with Ultra High Gloss Embossing Powder and the Sakura 3-D Crystal Lacquer Pastel Color Set.    
Here is one of the Pretty Butterflies I had left over when I was finished with that project! 
Today, I want to share how beautiful these products look on a card! I adhered the Pretty Butterfly to a transparency using part of a VLVS! Miracle Sheet and fussy cut the image. 
Pulled out that beautiful paper painted with Terri Sproul Mixers (I made a week ago) and punched a few flowers from the pink edge of the paper.
To give the flowers dimension fold up the petals and painted with Sakura Crystal Lacquer tinted with Terri Sproul Mixers Pink Sapphire Pearl, set aside to dry. 
Add crystal lacquer to the center of the flower and embellish with  Terri's Purple Glitz Effects.  Glitz Effects are beautiful vintage glass particles. LOVE THEM!
Cut another portion of the paper for the card base. Adhere all the pieces to the card with  VLVS Miracle Tape...  Attach the Pretty Butterfly with foam tape to pop it off the card.
This reminds me of my garden when to butterflies fly around all of my beautiful flowers! 
 The colors of these Terri Sproul's Mixers 
remind me of Spring!
Thanks for stopping by, be sure to take a moment and view projects on the blog by other design team members.  If you have time stop by my blog and see what other projects I am stirring up with Sakura Crystal Lacquer!


Sunday, April 8, 2012

Basket of Tissue Roses with Terri Sproul's Mixers


We are into full-force spring here in Texas and I love all the flowers a-bloom! My favorite part of this season is bringing these beauties into my home and having them near me. The only problem with real flowers is they eventually wilt, dry up and need to be composted. So today, I bring you a cone basket filled with hand-made tissue flowers that need only be dusted from time to time!

To create the cone, I began with Versamark watermark pad,
Shimmer Aquamarine Mixer and Bronze Mixer, and a couple
of swirly stamps that I enjoy.
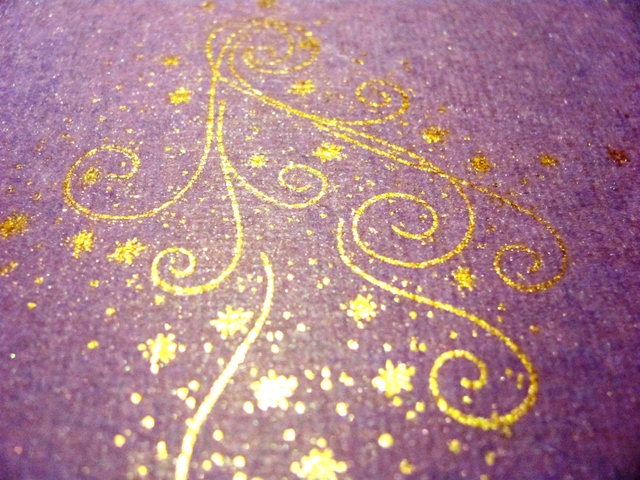
I stamp the first swirl with the versamark onto my purple card
stock and "pounce" on the bronze mixer.
I wipe of the bronze mixer dust with a paper towel to reveal
the beautiful swirls.
Next I stamp with Versamark the 2nd swirl and "pounce"
on the Aquamarine Shimmer. I love how the Versamark picks up
the glitter of the shimmer Mixer.
Again I swipe off the remaining Mixer dust with a paper towel.
This piece of card stock is now ready to be cut into a circle
and made into a cone basket.

The basket needs some tiny shimmer flowers,
so I paint some plain white paper with the
Purple Shimmer and the Rose Pearl Mixers
and Sakura 3D Crystal Lacquer.
Flowers are then punched out of the dried lacquer swatches.
They are adhered to the cone with Crystal Lacquer and a lacquer
center is dotted on with the end of a brush.
To make the tissue flowers, fold 4" squares of tissue paper in half
twice. Tie the folded tissue squares together with wire, and open the
tissue flower back up, scrunching as you go.

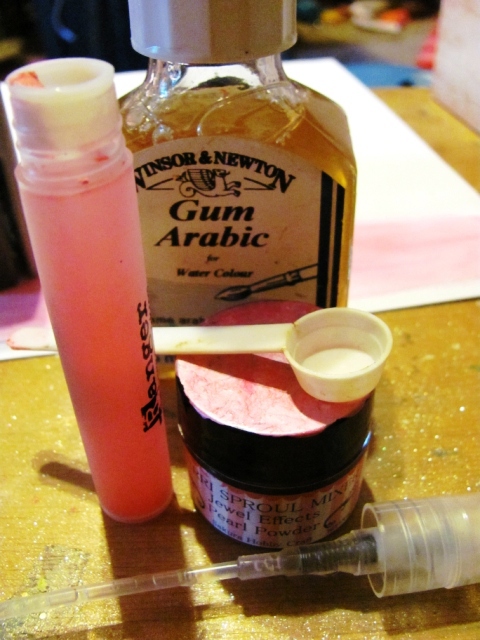
To color my tissue flowers, I created my own spray
using Rose Pearl powdered Mixer, water and some
gum arabic to bind the color to the paper. I used a
mini mister to mix in and spritz my tissue paper flowers.

Once dry, I smooshed the tissue flowers a little more to get the look
I wanted for my flowers.

perfecto!

A bit of ribbon makes the cone ready to be hung anywhere in my house.


Thank you for stopping by! I hope you enjoyed my project!

Friday, April 6, 2012

Easter Hat with 3D Crystal Lacquer & Terri Sproul Mixer


1.  Materials:
Canvas Hat
Butterfly Ribbon
Mold of Flower
Delight™ Clay
Terri Sproul Mixers:  Red Pearl, Garnet Pearl, Citrine Pearl, Green Pearl, Tanzanite Pearl
Violet Pearl, Violet Shimmer, Ultra Fine Glitter, Pink Sapphire Pearl
3D Crystal Lacquer
Hot Glue Gun/Sticks

2. Mold flowers 
3.  Un-mold flowers all to dry for 24 hours
4.  Paint flowers with Violet Pearl and Violet Shimmer.  Once dry place a mixer of Ultra Fine Glitter and 3D Crystal Lacquer over the flower.
5. Add "Bling" to the butterfly ribbon by painting the butterfly ribbon with mixers and lacquer.
6.  Showing the ribbon painting in progress.
7.  Painting the rainbow around the rim with mixers and lacquer (my helper did this part - it was her hat for school).
8.  Rainbow rim completed.
9.  Add ribbon with hot glue and add flowers to the front of the hat.


Tuesday, April 3, 2012

Painting a Midsummer's Eve Sky Using Sakura Crystal
Lacquer and Terri Sproul Mixers

Happy Wednesday - Susan here bringing you a project to start your creative April off and running...time to go to your craft room and get that altered book out that's screaming for some attention.


Today's project is an altered book spread. I paticipate in a local Altered Book Club round robin group which meets monthly. Each month we receive a different players' book and a technique in which to apply with the theme. This book was Fantasy Fairies and the technique was utilizing pockets. The pages are completely painted using Sakura Crystal Lacquer and Terri Sproul Mixers.

Since this theme is "Fantasy Fairies", I decided to paint a background that goes along with my personal fairy name "Feather Saturnfilter". I will explain briefly...there is an artist named Emma Davies who makes fabulous handmade Fairy Figurines. She also has a fairy name generator on her site. It's quite fun. CLICK HERE to see. Not only does this give you a name...it also gives you a little description too. I have created my fairy and a background based on the following description:

My Fairy is Feather Saturnfilter.
She is a trouble maker.
She lives in high places where the clouds meet the earth.
She is only seen on midsummer's eve.
She wears pale blue like the sky and has pale pink wings like a cicada.

Here's my fairy made out of handmade paper, fabric scraps,
two-tone purple yarn and hand-drawn wings.


This book was quite large about doll collecting. The pages were about 9" x 11" in size. I have a blend of gesso, light green and gold acrylic and glazing medium that I use as a primer base for blocking out pages. It covers up the text and photos, but remains a little translucent and gives a nice painted texture to work on. I also inked the edges of the pages with antique gold ink. Now I'm ready to create!


Layer one: I mixed up a generous amount of Sakura Crystal Lacquer with Green Pearl Mixer and painted the bottom half of the pages. This has resulted in a lovely pearl teal green. I waited about 5 minutes or so to dry. The ripples in paper are from the moisture of the wet media. The pages were a little thin so I glued two pages together with glue stick prior to starting. This is something you may want to keep in mind when selecting a book to alter. The thinner the pages, the more work you have to do in preparation/durability of altering, painting, etc.


Layer two: I mixed up and applied Citrine Pearl Mixer with Crystal Lacquer and overlapped the green. The citrine is a lovely bright sunny yellow and is perfect for my late summer sunset.

Detail of the brush work from base primer layer showing how it had been accented by the Mixers.


Layer three: I mixed up a generous amount of Sakura Crystal Lacquer with Red Pearl Mixer and painted the remaining area at top of each page. I overlapped the yellow with the red.

Now I let this dry for a little bit - about a 1/2 hour. Since I had painted on three layers. While waiting I went about preparing my accordion pocket tag holder, fibers and prepared my next layer to paint. There were a couple spotty areas that were still slightly tacky so I thought I might speed things up with my heat gun. **TIP TIME** You have be very careful to keep the heat gun far away from the surface. I don't recommend this unless you like a bubbly effect like this...


So I waited a little longer to dry. For the next layer I wanted to soften my sky into a proper sunset. The ripples in the paper simulate clouds {a happy accident}. I mixed up some Gold Dust and Citrine Pearl Mixers with a good amount of Crystal Lacquer. 


I painted this on and feathered out my overlapping colors.


The completed background. Then I began stamping with Hampton Art Dandelion stamp set using black Staz-On ink creating a ground area. This set has dandelions, plants and some butterflies and also a darling dragonfly.


ANOTHER **TIP**
I wanted to remove any possibility of pages sticking together if wax paper has been removed by other players. To do this I got out my trusty EK powder brush dispensing tool {this is a tool they came out with to deactivate exposed sticker adhesive when popping up with 3D dots}. I happen to have this and tons of other nifty crafty gadgets from teaching at my local scrapbooking store. You can also use a cotton ball to apply plain talcum powder. This tool is handy because it can get down in the crevice of the book. I also dusted all over the pages EXCEPT where I would be adhering my accordion pocket, fairy and framed description. DO NOT put POWDER where you intend to glue something - it will repel adhesive.


Detail of beautified Fairy name description thanks to some computer handiwork. The finishing touch is the furry fibers down the spine and laced through the tags in pocket accordion. Tags are made using an assortment of Robin's Nest papers - and colors organized like a rainbow [red, orange, yellow, green, blue & purple].

Completed altered book pages. I love it!!!

I hope you have enjoyed today's post and that you are inspired to go and create something. Please take a look around through the projects from my other Sakura Hobby Craft Design Team members for some great projects, tips and ideas! See you in two weeks on April 18rd, 2012.

If you have any questions, please leave a comment, select receive e-mail follow ups on comments and I will respond. If you would like to see more of my creations, please visit my blog sbartist : painting in the dark by clicking here.

Have a wonderful Wednesday : )

Monday, April 2, 2012

How to stored your Terri Sproul's Mixers by Gloriann Irizarry


Tip: The best magnets for this projects are Earth Neodymium Magnets 10x1mm they are super strong and very small. They will hold the full jars in place. Use Sakura 3D Crystal Lacquer to glue them is the only adhesive I seen to work best to hold them all in place.
This is how I store all these wonderful products.
I like to and keep them at my finger tips ready for me to start all my creations
since it inspire my imagination and get my gears turning just by looking at them.
Have a blessed day and happy crafting my friends.