Thursday, February 21, 2013

A Sakura 3D Crystal Lacquer Gourd Bowl


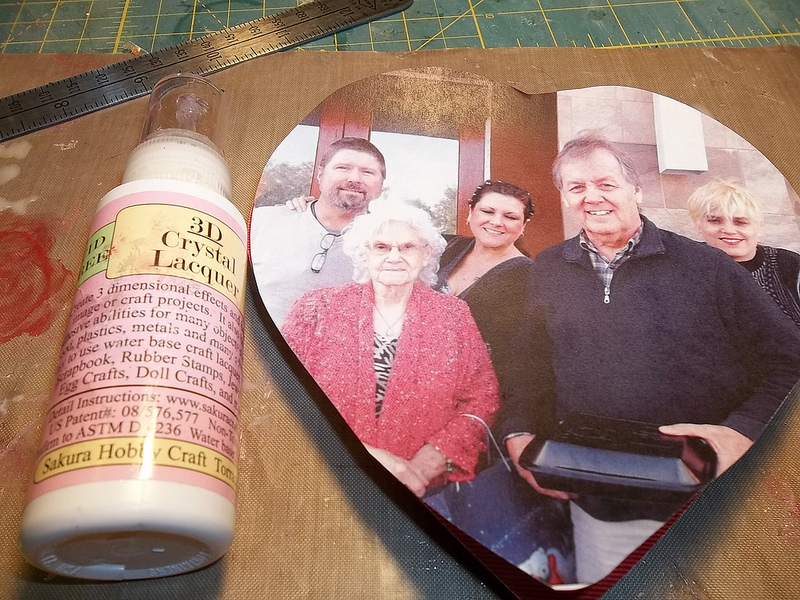
I’m going to show you a very simple but beautiful bowl that I created out of a gourd, Sakura 3D Crystal Lacquer and Sakura Yuzen Paper. To begin with you must clean the outside of your gourd, cut it open and clean the inside and you are ready to start. These are the supplies that I used:
100_3620                   100_3621
One thing I failed to get in the picture is the gold trim that I used for around the top. It was so simple to do, I brushed the Crystal Lacquer onto the gourd and applied strips of paper on top of it. Once I covered the gourd, I went over it with Crystal Lacquer to seal it and then glued the gold trim around the top. Here’s the final result:
100_3623          100_3624
Isn’t this a beautiful bowl? I love the designs on the Yuzen paper. It is actually paper that is handmade and printed in China for Sakura. There are several designs in one package and it can be purchased from Sakura. The Crystal Lacquer puts a wonderful finish on it also. Now I used a gourd because I had one handy that was round, but you could cover glass, plastic, etc. to make your bowl. You should give this project a try because you get almost immediate gratification. Do you like it? Let me know, I would love to hear from you.
Barbara

Monday, February 18, 2013

CD Case Gift Card Holder

CD Case Gift Card Holder
I decided to make a gift card holder out of this cd case. I figured you could not only put a gift card in there but also a special cd that you make for the person as well if you like.
An accordian album would fit nicely in there with a gift card as well.
This picture was taken while it was still drying. I went to use some of the 3D Lacquer to add a dew drop and when I went to pour I didn't realize I took the WHOLE lid off and a whole bunch of glue went everywhere. The project had been complete minus the dew drop and dried beforehand. I guess that is what I get for last minute additions. :)

Supplies:
(I couldn't tell you all the colors because some of the pieces were made a while back and felt they went along with this project so I added them.)
(Used this on the bottom piece of the cupcake!)
CD Case
Cookie Cutter
Molds (I used Martha Stewart for the cupcake and the bow)
The Robin's Nest Dew Drop
Directions:
Add mixer to 3D lacquer and dab it on the cd case.
Then add all your pieces you made in molds.
(It's very easy to pour the 3D Crystal Lacquer into a mold and some mixer, doesn't take much, but depending on the depth of the mold you may need to let it dry up for longer than 24 hours)
The heart was cut out with a cookie cutter.
And due to the spillage of the lacquer I had to fill in the heart with a color mixer.
And added a dew drop to the top of the larger heart that was made in a mold.
Thanks for visiting!
Jamie

Thursday, February 14, 2013

Last Minute Valentine Candy Box


Need a last minute gift without spending a lot of money?

Run to the Dollar Store and buy a small heart shaped box of chocolate. Decorate it with a photo of you and your loved one (or of anything), embellish it and give it as a gift. The candy will last 5 minutes, but the box will last forever! Also pick up some extra and make a special one for Mother's Day!


Materials
Box of Candy- from Dollar Store.
Glue-Elmers or Mod Podge
White Paint
Laquer- 3d Crystal Lacquer
Embellishments- beads, broken pieces of jewelry
Photo- laser copy (from a laser printer or a laser copy). If you use an ink jet printer make sure to seal your photo with fixative before lacquering.


Directions
Find a suitable photo (measure your box) and print out (you can either use a fixative if you are using ink jet or bring to copy store for a color copy).


Take shrink wrap paper off your box

Make sure the photo will fit your box of candy. Trace to heart shape on the photo and cut out.


If your box of candy is any color than white, paint it white- let dry (this is because sometimes you can see through the photo to the red paper- I tried it three times and it showed through when I added glue).


Glue your photo to box of candy- let dry


Add any collage elements.

Using a lacquer, like Sakura 3D Cystal Lacquer, put a light coat on over the photo.


Add embellishments, like beads. I used a thin layer of 3D Cystal Lacquer to glue the beads to the edge. Then once it sat up a bit, I went over the inside edge of the beads with more 3D Cystal Lacquer, so it had more to anchor them to the box.


Add any additional embellishments.


Put the lid on your candy and you are ready to go.

Keep in mind, this process will take about 1 1/2 hours for total project with drying time, so don't be too last minute!

Tanya Ruffin
www.tanyaruffin.com


Tuesday, February 12, 2013

Sakura Vintage by the SeaShore Valentine Tin!!!

Vintage Valentines are my favorites. Here is an altered tin with a vintage by the SeaShore Valentine image.
Coat the tin with the Red from the Sakura Primary Color Set 3D Crystal Color Lacquer. While wet add the red doily. Adhere the image with Sakura 3D Crystal Lacquer and coat the image with a thin layer of Sakura 3D Crystal Lacquer.  I find the  lacquer enhances the color of the images. 
Adhere small shells around the edge of the doily using the
Sakura 3D Crystal Lacquer add a few shells to the bottom of the image. With the Red Stikles add a border around the tin. Use Gold Stikles to create a border around the image. 
Fill your tin with fun messages for your VALENTINE!!!!

Supplies:
Tin
Sakura 3D Crystal Lacquer
Sakura Primary Color Set 3D Crystal Color Lacquer
Image from Altered Pages Valentine collage # 2031
Stickles Red & Gold
Stash Sea Shells and Paper Doily

Thursday, February 7, 2013


A Valentine made with Sakura 3D Crystal Color Lacquer


I enjoy making cards of all types and I really had fun making this simple Valentine with Want2Scrap outlines and the fun to use Sakura 3D Crystal Color Lacquer. Here’s what I started with:
IMG_1559                  IMG_1560
Once you peel off the design and place it on the paper, it’s just so easy to fill in with the Sakura 3D Color Lacquer! The Lacquer comes in easy to use tubes and you just squeeze out what you need. The lines contain the Lacquer and it doesn’t overrun. Once I finished the flowers in the center, I attached more small flowers that I then filled in with the Lacquer and then punched out a couple of hearts out of some blingy paper and here you have it:
IMG_1562             IMG_1563                                          IMG_1565
IMG_1568   
This Valentine turned out very nice and I’ve got just the friend to send it to! I hope your Valentine’s Day is a sweet one! You might want to try the Sakura 3D Crystal Color Lacquer on your Valentine cards to make some quick and beautiful ones.
Barbara

Sunday, February 3, 2013

Altered CD Case

Altered CD Case
featuring


Supplies:
3D Crystal Lacquer: Primary Colors
CD Tin
Directions:
1. Take the pen and do an overall color (blue).
2. Give it time to dry.
3. Write with the purple lacquer pen "Love is in ..."
4. Draw a heart with a red lacquer pen.
5. Let dry and you are done.
If each color isn't given enough time to dry then they will run into one another.
Afterwards you can put a specially made CD into the tin or even a mini album for your sweetheart!
I think next time I'm going to do an over all color using mixers and then use the 3d lacquer pens. :)
Thank you for stopping by!
Jamie

Thursday, January 31, 2013

3d Crystal Lacquer Book Page Flower

Finished Flower arrangement
At CHA I saw a chandelier that was embellished with resin paper leaves. I love that idea so I made a book page flower with 3d Crystal Lacquer.

Supplies:
Book Pages
3d Crystal Lacquer
Copper wire- I picked mine up in a large spool from home depot. I think it is called welding wire.
Transparent tape (like scotch tape)


Close up of flowers
 Directions:
Cut off about a 6-12" length of wire (this depends on how big you want your leaves and total arrangement to be). I wanted mine to have about 3" leaves so I cut off 12" and then i trimmed it off later. Make about 3-4 leaves, so that is 3-4 pieces of 6-12" wire.
Copper wire with top looped to make a leaf
Loop the top 4" around and twist it around the stem. You will need to shape your wire to form a leaf.

Tape the leaf down to the book page. You may want to find special words or sentences to highlight. You want to make sure that your wire lays flat on the paper or the 3d Crystal lacquer will seep under the wire. This may take some bending. You don't really need to worry about the tape because it is almost invisible after you lacquer the paper. I just overlap a little tape over the inside of the leaf.
Taped down wire. 

 Now you can create your flower. You can create individual petals and wire them together or attempt one big flower. I was getting tired of making leaves so i wanted to knock out one big flower. Most of the wire molding can be done by hand but I did have to pull out the pliers to wrap the inside of the flower. I left the wire on the spool while I make the flower, because I had no idea how much wire it would take.
Doesn't look perfect, but I can adjust it more later.
Tape the flower down to the book pages too.
Notice my flower already looks a little better.

 Now you can start filling in the 3d Crystal Lacquer. It is ok if there is a little seeping, because you can trim that off later, when we cut out the designs. We just don't want a lot of seep out. I actually had minimal seeping.


Once dry, flip the design over and lacquer the back.

Now you can cut out your designs.
I used an exacto to get into small areas.

Your flower and leaves are now done and you can arrange them however you want. You could make a garland, earrings, ornaments, whatever! I think a butterfly would be cute! You could even add some of the mixers to the lacquer for added color.


Tanya

Tanya Ruffin